


|
Fusion 360Autodesk
|
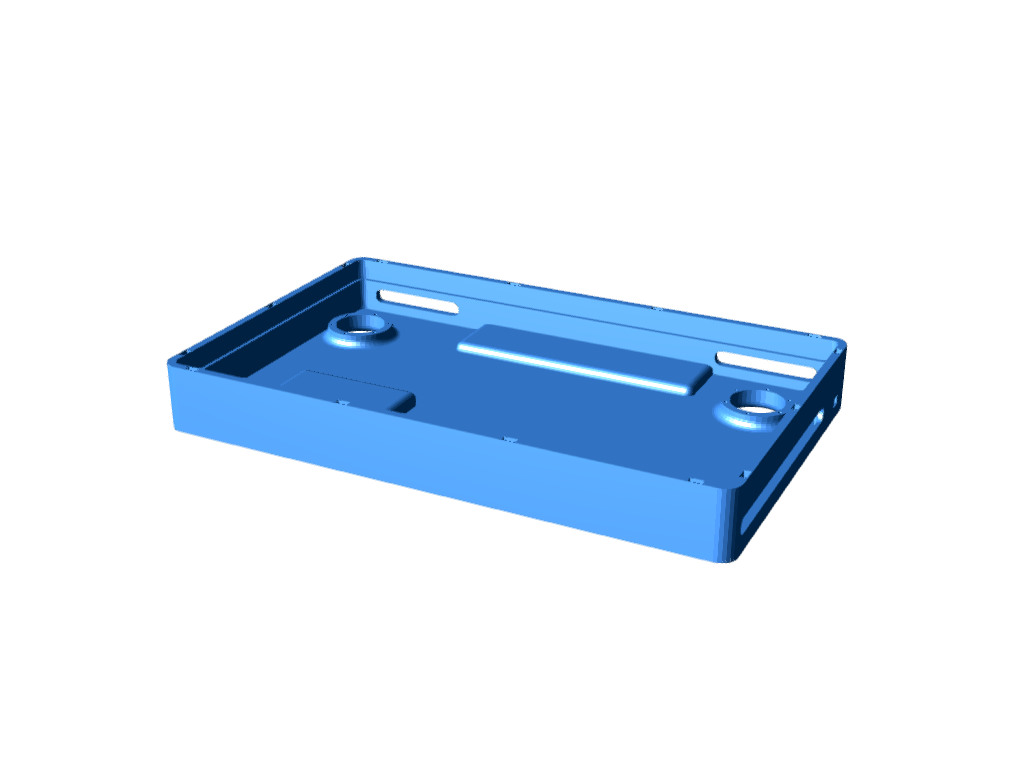
Broken Gaming Laptop Case
I built a fully functional home server by repurposing a second-hand gaming laptop, turning what was once a high-performance but aging device into a reliable, always-on media and utility hub. The project started with the idea of giving a second life to hardware that would otherwise be underused, while also creating something genuinely useful for my daily setup.
The laptop I chose was a used gaming model with decent specifications: a capable CPU, dedicated graphics (which I didn’t really need for the final purpose), and enough RAM to handle multiple services. Even though gaming laptops are not typically designed to run 24/7, their performance-to-price ratio in the second-hand market makes them a very attractive option for this kind of project.
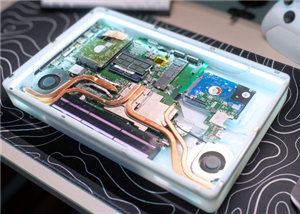
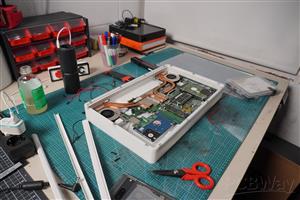
The first step was disassembling the laptop. Since the original chassis was bulky, had a broken hinge, and wasn’t optimized for stationary use, I decided to remove all unnecessary components. I carefully took out the motherboard, cooling system, and storage units, making sure everything still worked outside of its original enclosure. This was one of the most delicate parts of the process, as laptop components are not designed to be handled frequently.
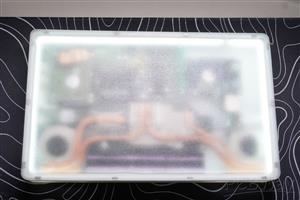
Once I had the core hardware ready, I designed a custom case from scratch. Using CAD software, I created a compact and modular enclosure that could house the motherboard, fans, and storage drives in a more efficient layout. The goal was to improve airflow, reduce size, and make the system visually appealing. I 3D printed the case using PLA, iterating on the design a few times to ensure proper fit and thermal performance.
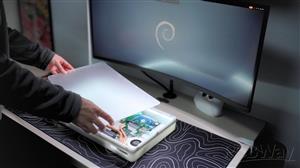
On the software side, I installed a lightweight Linux distribution to maximize stability and efficiency. After setting up the base system, I configured the server to run several services. The main one was a media server, allowing me to stream movies and shows to my TV and other devices. I also set up remote access, file sharing, and basic network tools to make it a central node in my home network.
Thermal management was a key challenge throughout the project. Since laptop cooling systems are designed for enclosed spaces, adapting them to a custom case required careful positioning of fans and ventilation holes. After some testing, I managed to achieve stable temperatures under continuous load.
In the end, the project was not just about building a server, but about learning and experimentation. It combined hardware modification, 3D design, and software configuration into a single cohesive build. The result is a unique, efficient, and personalized server that fits perfectly into my setup while giving new life to old hardware.
Broken Gaming Laptop Case
*Wpsload community is a sharing platform. We are not responsible for any design issues and parameter issues (board thickness, surface finish, etc.) you choose.


Attribution-ShareAlike (CC BY-SA) License
Read More⇒


Raspberry Pi 5 7 Inch Touch Screen IPS 1024x600 HD LCD HDMI-compatible Display for RPI 4B 3B+ OPI 5 AIDA64 PC Secondary Screen(Without Speaker)
BUY NOW


- Comments(2)
- Likes(2)
More by furni. YouTube
-
-
ARPS-2 – Arduino-Compatible Robot Project Shield for Arduino UNO
2532 0 5 -
A Compact Charging Breakout Board For Waveshare ESP32-C3
2987 3 8 -
AI-driven LoRa & LLM-enabled Kiosk & Food Delivery System
3195 2 1 -
-
-
-
ESP32-C3 BLE Keyboard - Battery Powered with USB-C Charging
3262 0 2


